Working with Layers
Add, reorder, blend, and manage layers within a frame.
Each frame in a canvas can hold multiple non-destructive layers.
Adding and selecting layers
Tap Add Layer at the top of the layers panel to create a new layer above the current one. Tap any layer row to make it active — the active layer is what the pencil, eraser, and fill tools draw onto.
Reordering layers
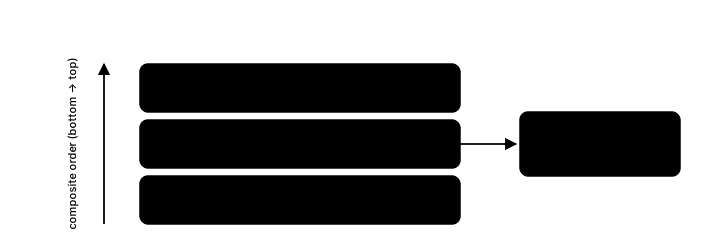
Each layer row has a drag handle on its right edge. Press it and drag the row up or down to change the stacking order, which changes how the layers composite within the frame.
Renaming a layer
Double-tap a layer’s name to enter rename mode, type the new name, and confirm. Layer names default to “Layer 1”, “Layer 2”, and so on.
Visibility
Tap the eye icon on a layer row to toggle its visibility. Hidden layers are skipped when compositing the frame and can’t be drawn on until shown again.
Opacity
The opacity slider above the layer list controls the active layer’s opacity, from fully transparent to fully opaque.
Blend modes
Each layer supports four blend modes:
- Normal — standard alpha compositing.
- Multiply — darkens by multiplying colors, useful for shading.
- Overlay — combines multiply and screen depending on the base color, for contrast effects.
- Screen — lightens by inverting, multiplying, and inverting again, useful for highlights and glow.
Locking a layer
Tap the lock icon on a layer row to lock it. A locked layer can’t be drawn on, which keeps finished work safe from accidental edits while you paint on other layers. Tap the icon again to unlock.
Alpha lock
The icon next to the lock toggles alpha lock, which locks the layer’s transparent pixels. With it on, drawing only affects pixels that already have color — transparent areas stay transparent — so you can recolor or shade existing artwork without spilling outside its edges.
Outline effect (Pro)
Each layer can carry a non-destructive outline effect — a 1px outline drawn around the layer’s content in a color you choose. Because it is an effect rather than painted pixels, it updates automatically as you edit the layer and can be recolored or turned off at any time without altering your artwork.
Open it from the layer row’s context menu, toggle Outline on, and pick the outline color. The outline effect is a Pro feature.
Duplicating a layer
Long-press a layer row to open its context menu and choose Duplicate. This creates an exact copy of the layer, including its pixels, above the original.
Merging layers down
Merge Down flattens the active layer into the layer directly beneath it, leaving a single combined layer. It’s available from the layer row’s context menu whenever there’s a layer below the active one.
Deleting a layer
A layer can be deleted from its row unless it’s the last remaining layer in the frame — at least one layer must always exist.